CustX Designer
Location: Settings > Program Settings > General > Custom Export Designer
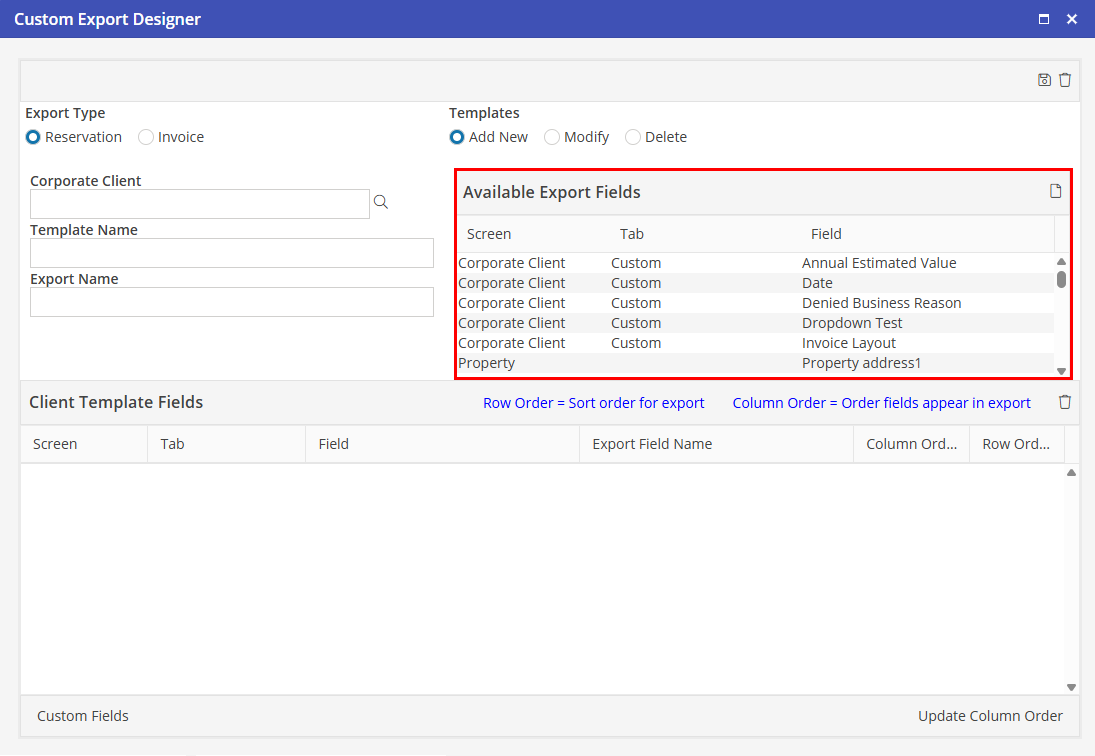
Available Fields
The Custom Export Designer comes with a pre-programmed list of standard fields that can be selected onto spreadsheet templates. These appear in the Available Fields list box and are slightly different based on the selected Export Type (Reservation or Invoice). See the appendix for a complete list of standard available fields for both export types.
Custom Fields
On first using the designer, click the Custom Fields button in the lower left hand corner to add custom fields to the list of available fields. It is not necessary to add all custom fields.
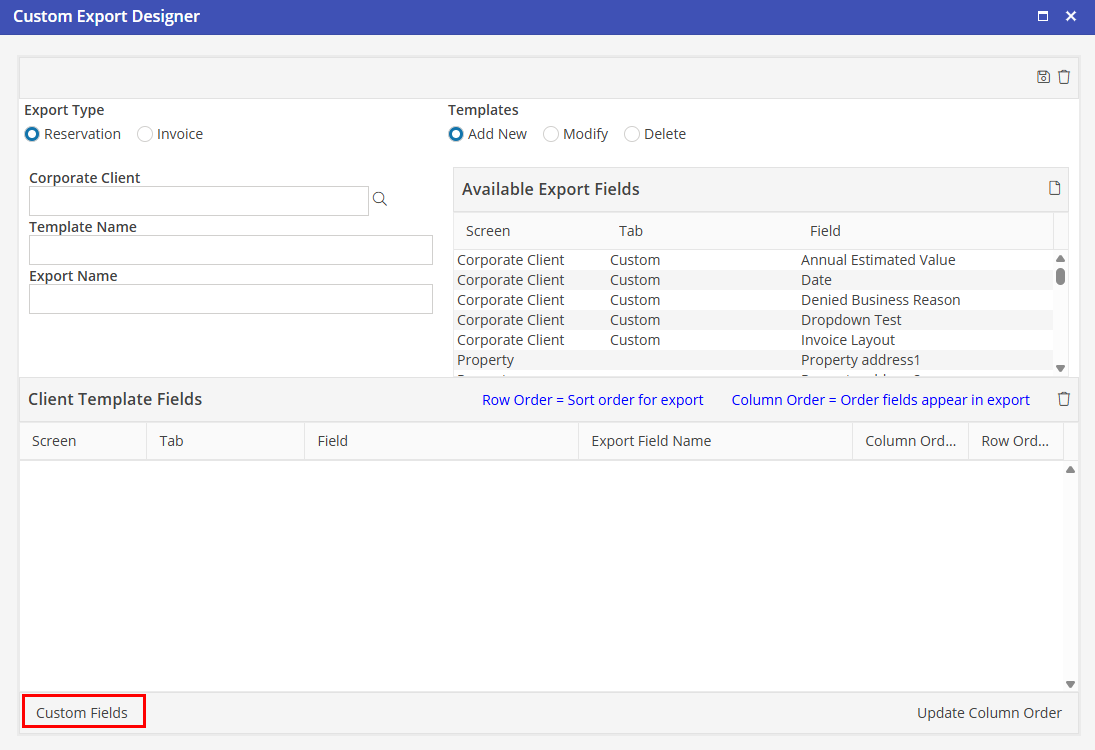
Custom fields may be added to or removed from the available fields list at any time.

Custom Fields
All custom fields that are currently in the Oscar database will be listed in this menu. To add these to the Custom Fields Available for Export, select the desired fields and click  .
.
Custom Fields Available for Export
These are all custom fields that have been chosen from the Custom Fields menu. These Custom Fields will be available for selection in the Available Fields selection box on the Custom Export Designer screen. To remove items from this list, select the desired fields and click  .
.
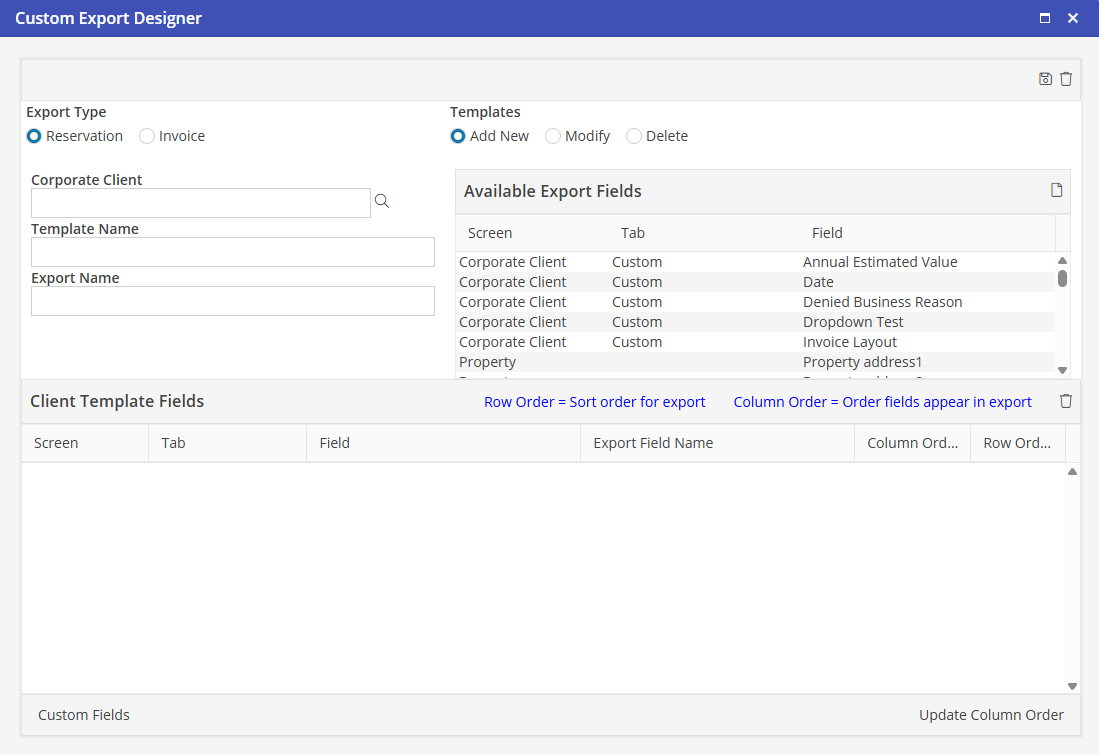
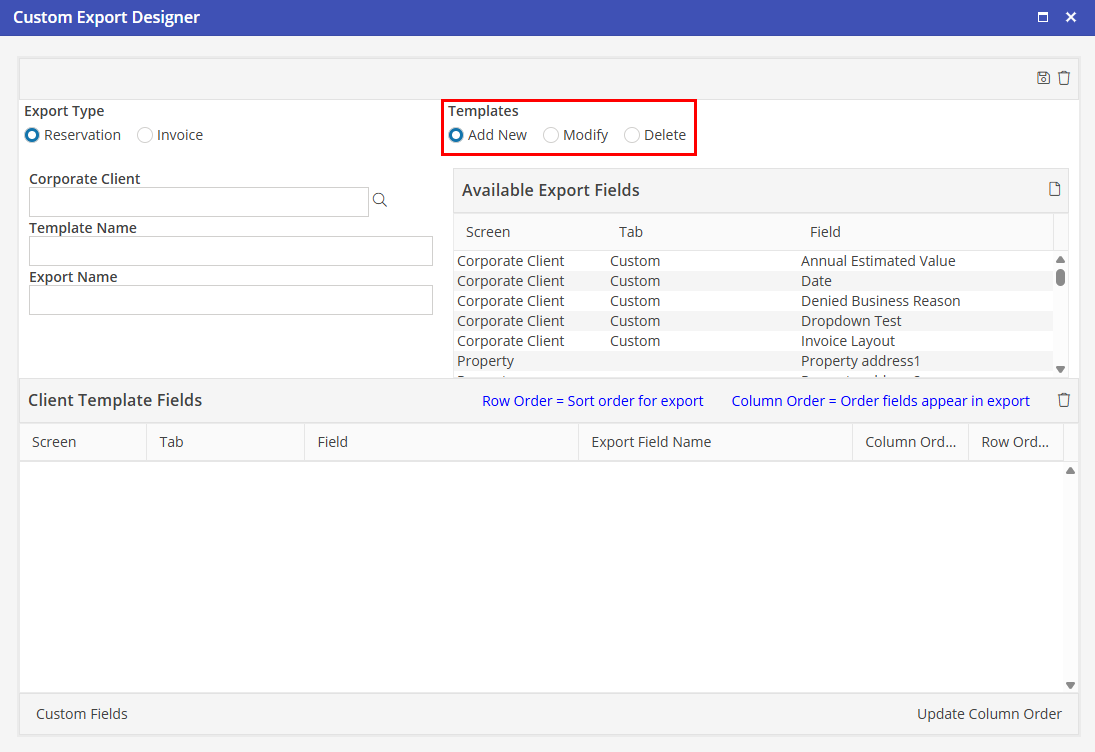
Add New
To create a new spreadsheet template:
Click the Export Type radio button (Reservation or Invoice), then click the “Add New” radio button.
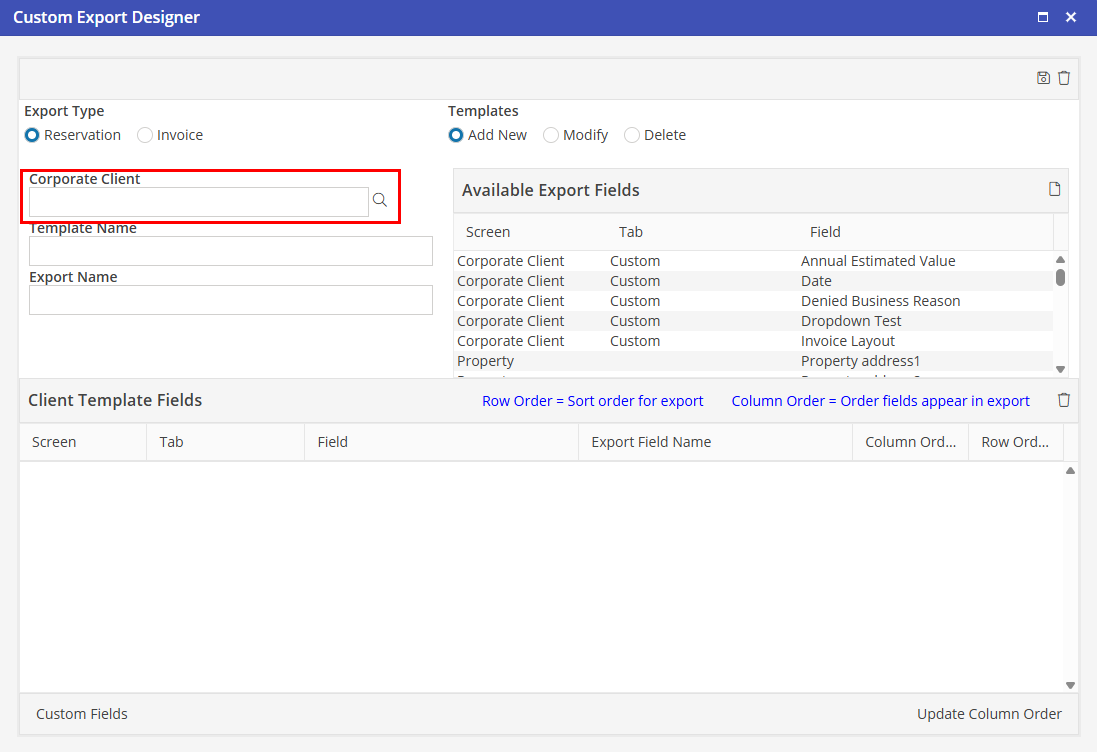
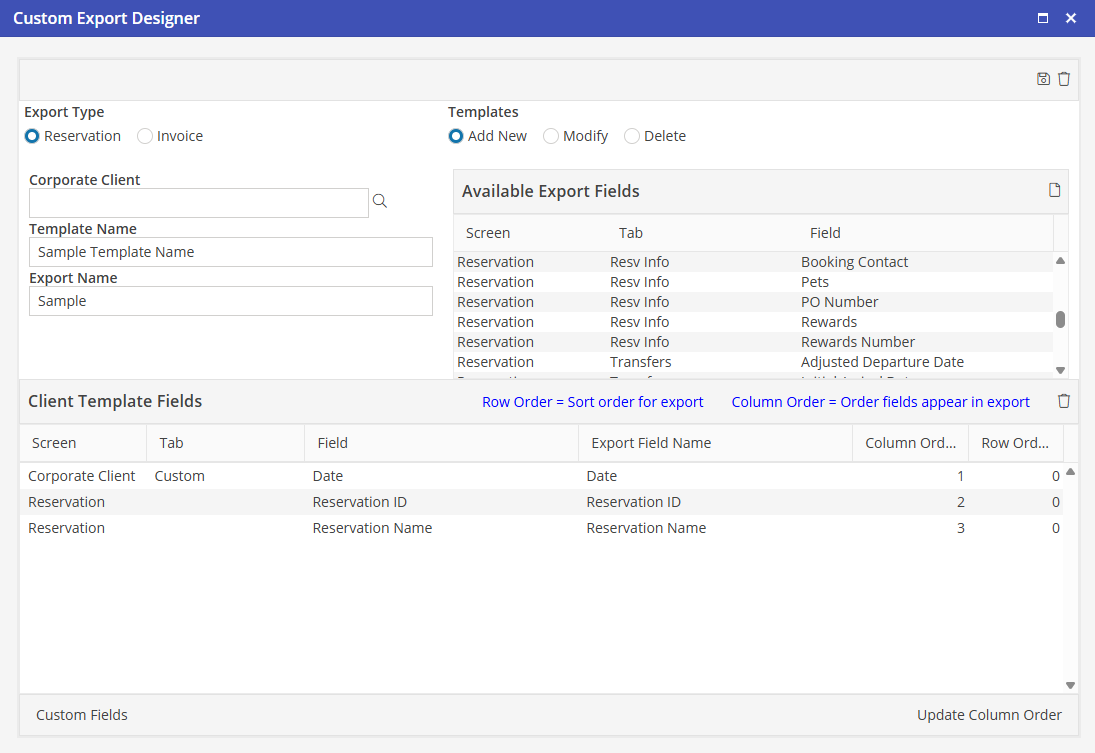
Corporate Client
If the spreadsheet is for a particular corporate client, select that corporate client from the dropdown; otherwise, choose the default <<ALL>>.
When users access the template, the filter for corporate client will automatically default to the corporate client selected in the designer. They may select another corporate client (or <<ALL>>) if desired.
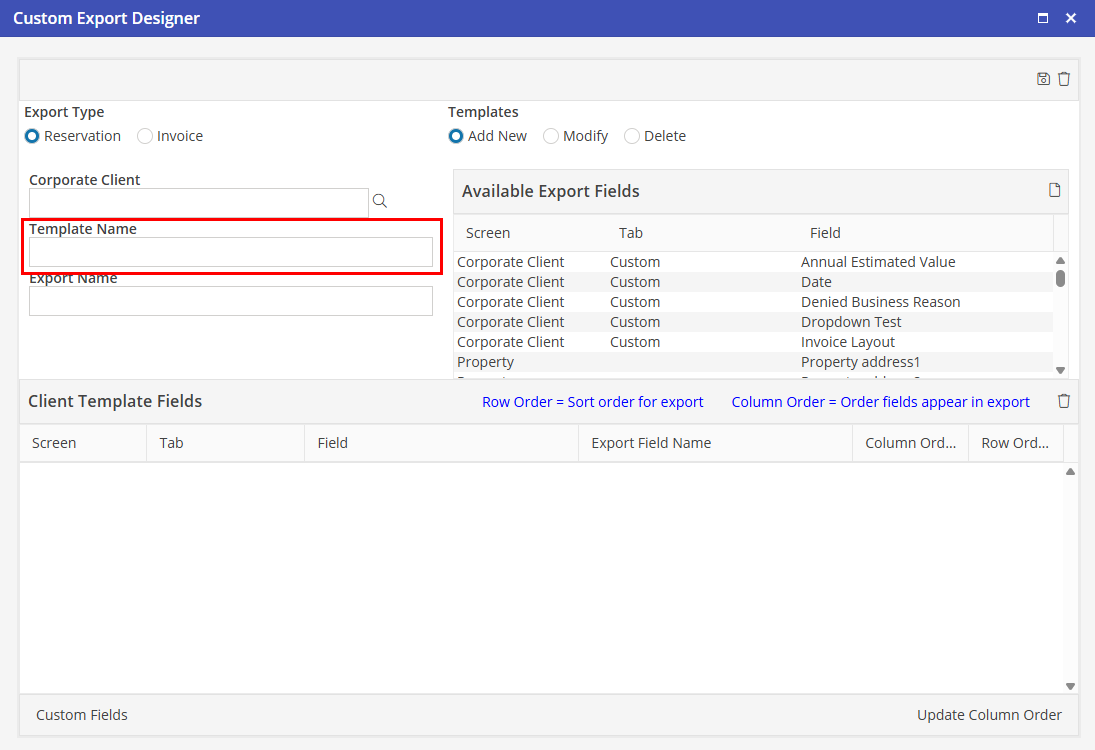
Template Name
This is the name users will select to access the report. It will appear in the Export Name dropdown in CustX-Reservations or CustX-Invoices. This name must be unique.
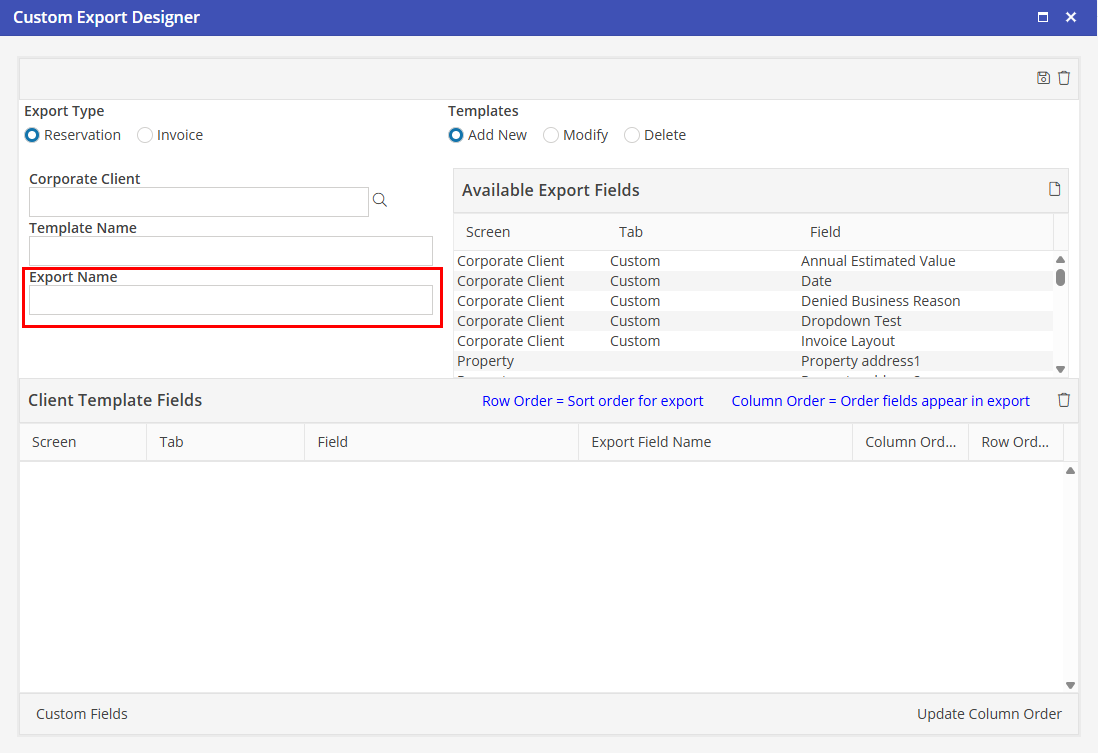
Export Name
This is the name that will appear on the spreadsheet itself. It may be the same name as above, or a different name.
Available Export Fields list
Select one or more fields from the Available Fields List and click the button to add them to the “Client Template Fields” grid below.
To remove a field from the grid, click on the row for the field and click the button.
For Reservation templates, if all of the fields selected are from the Reservation or Unit screens, one and only one record will be returned for each reservation. However, if one or more fields are selected from the Resident Ledger screen, one or more records may be returned for each reservation. In this case, the user generating the export from CustX-Reservations will have additional resident ledger filter options.
For Invoice templates, all of the “charges” information is listed under Invoice, but the first word of the field name is “Detail.” As long as no “detail” fields are selected, one and only one record will be returned for each invoice. However, if one or more detail fields are selected, one or more records may be returned for each invoice. In this case, the user generating the export from CustX-Invoices will have additional filter options for Detail.
Finalize the Design
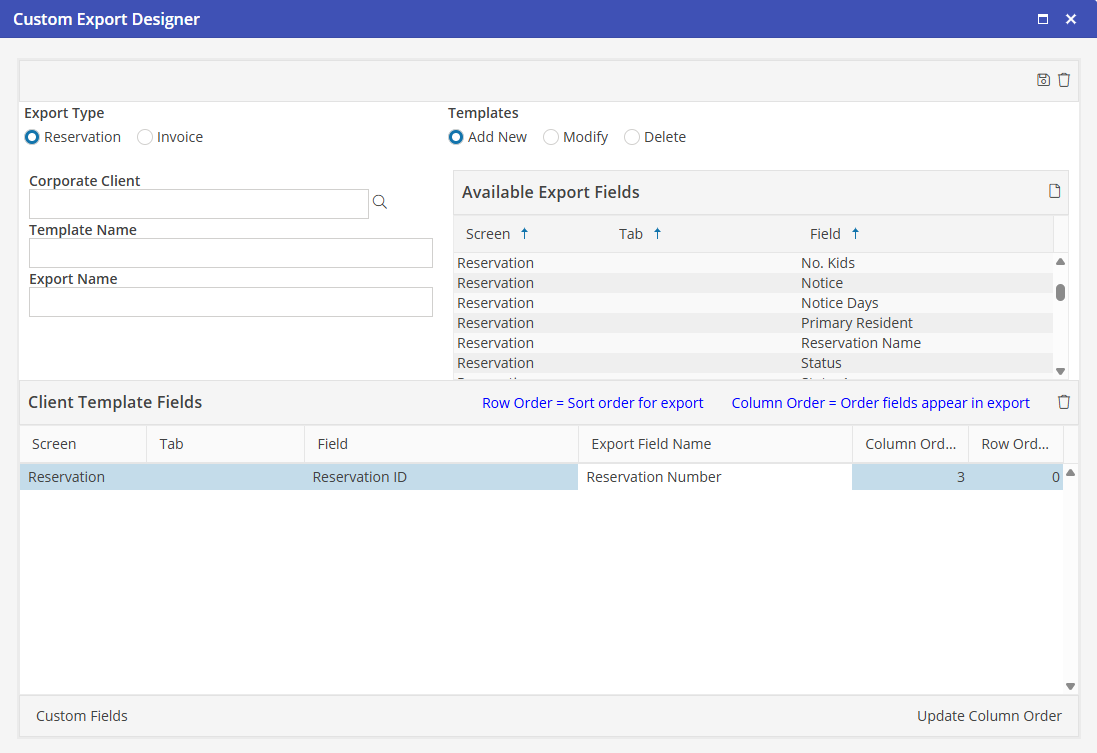
Modify Export Field Names
When a field is added to the grid, the default Export Field Name is the same as the field name that was selected. This may be changed by typing an alternate field name. For example, the field name “Reservation ID,” may be changed to “Reservation Number.” The Export Field Name is the field name that will appear on the generated spreadsheet.
Modify Column Order
The first field in the grid will be the first column in the generated spreadsheet; the second field will be the second column, etc.
To change the column order, type the desired numeric position for the field into the “Column Order” column. Click “Update Column Order” to re-order the fields in the grid.
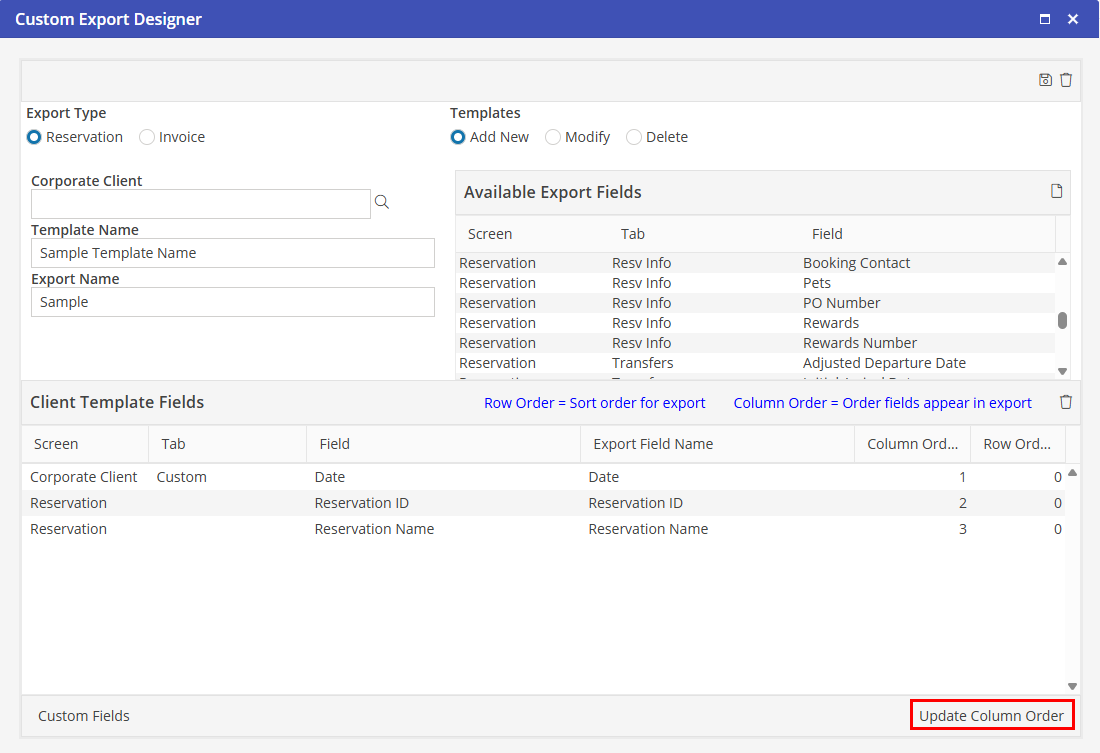
Note that it is not necessary to change all of the numbers in the Col Order column. For example, if there are nine fields in the grid, and the ninth field should be the first column in the spreadsheet, type “1” into the Col Order column for the ninth field and click the Update Column Order button. All other fields will be automatically re-ordered correctly.
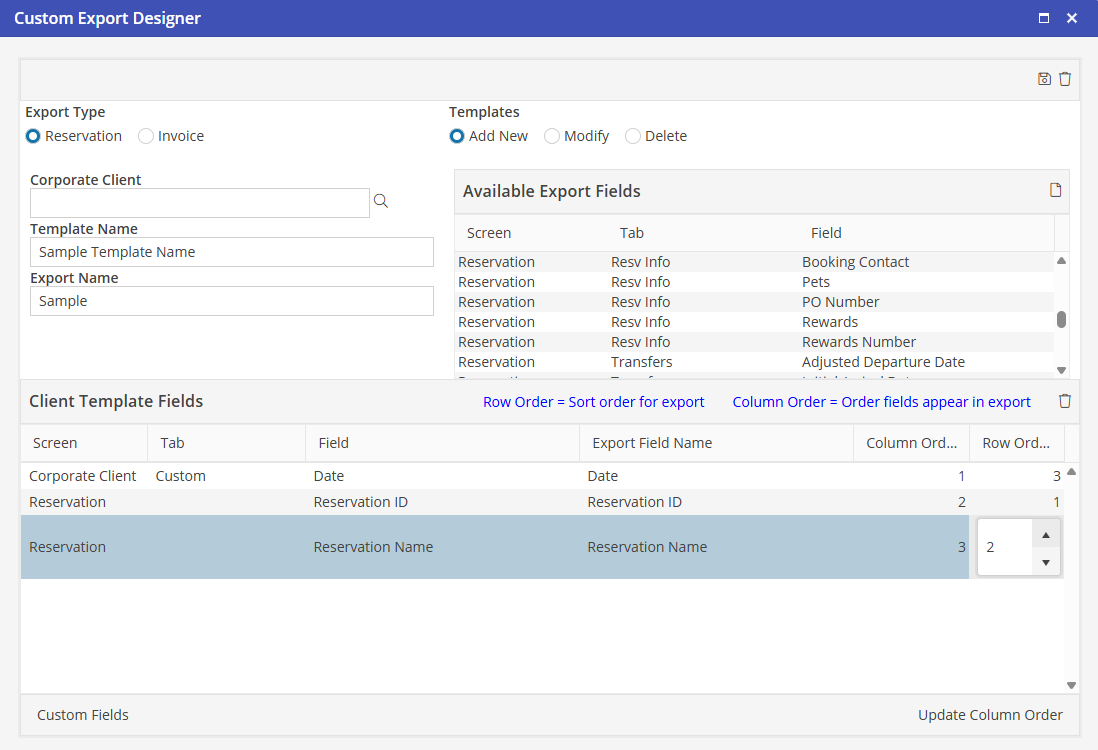
Modify Row Order
The “Row Ord” column is the order in which the data itself will be sorted on the generated spreadsheet. At least one field must have a row order set to 1. To edit, click within the cell of the grid, and make adjustments.
Save the Template
Click  to Save the Template.
If the export type for the template is “Reservation,” it will now be available for selection from CustX-Reservations in the Management section of the Oscar navigation bar. If the export type for the template is “Invoice”, the template will now be available for selection from CustX-Invoices in the A/R section of the Oscar navigation bar.
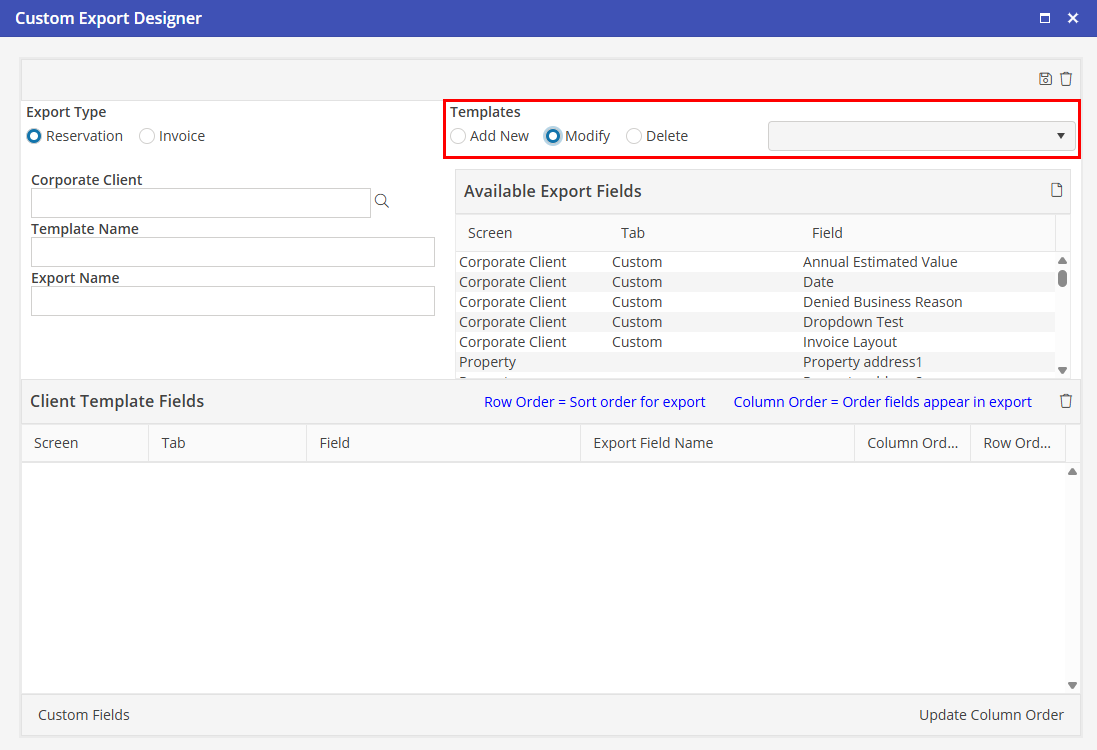
Modify
To modify a spreadsheet template:
Click the Export Type radio button (Reservation or Invoice), click the 'Modify' from the Template options. All templates that have been created for the selected export type will be available for selection in the “Select Custom Export” dropdown. When a template is selected, all of the detail for the template (corporate client, export name, etc.) will be populated on the screen. Fields may be added, removed, re-named, re-ordered, or re-sorted as needed. Additionally, the corporate client and export names may be changed. After changes have been made, click
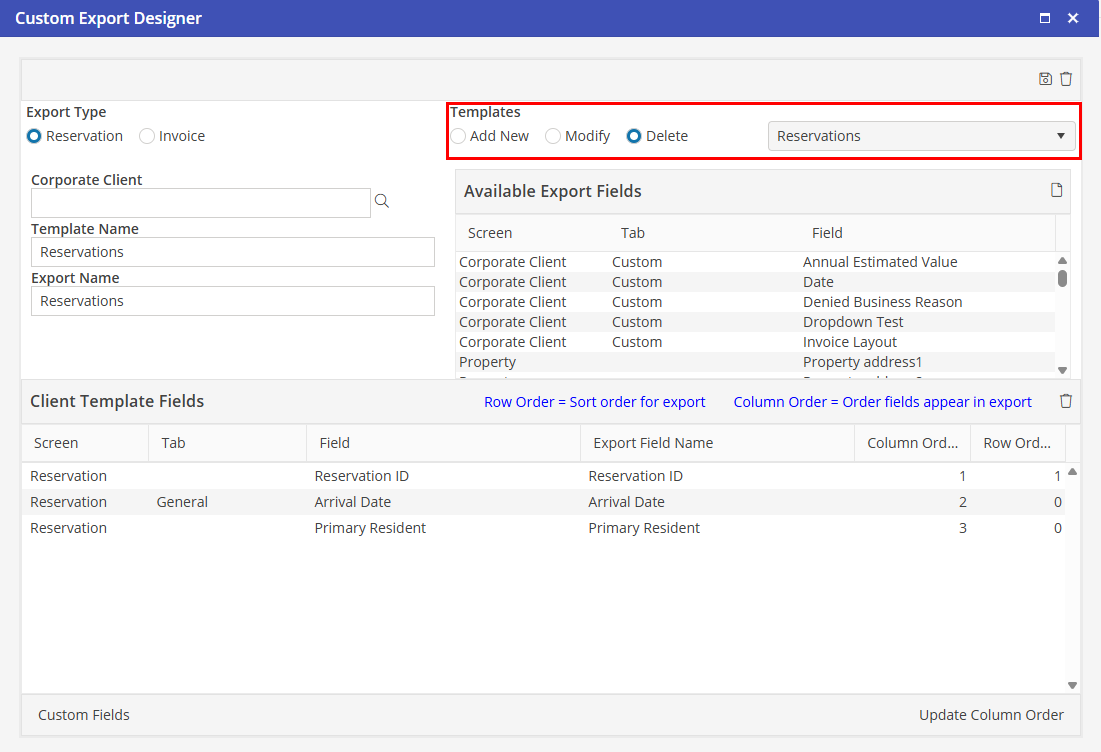
Delete
To delete a template:
Select the Export Type (Reservation or Invoice). then, select 'Delete' from the Template options. All templates that have been created for the selected export type will be available for selection in the “Select Custom Export” dropdown. Select the template to delete, click to Delete.