
Moving the Reservation
To move a reservation, follow these steps from the Schedule Board:
Decide which apartment to move the Reservation to. Do this by using the Availability Search feature or by manually filtering the schedule board for the location, unit type etc.
Right click on the Reservation to be moved and select “Move Reservation”.
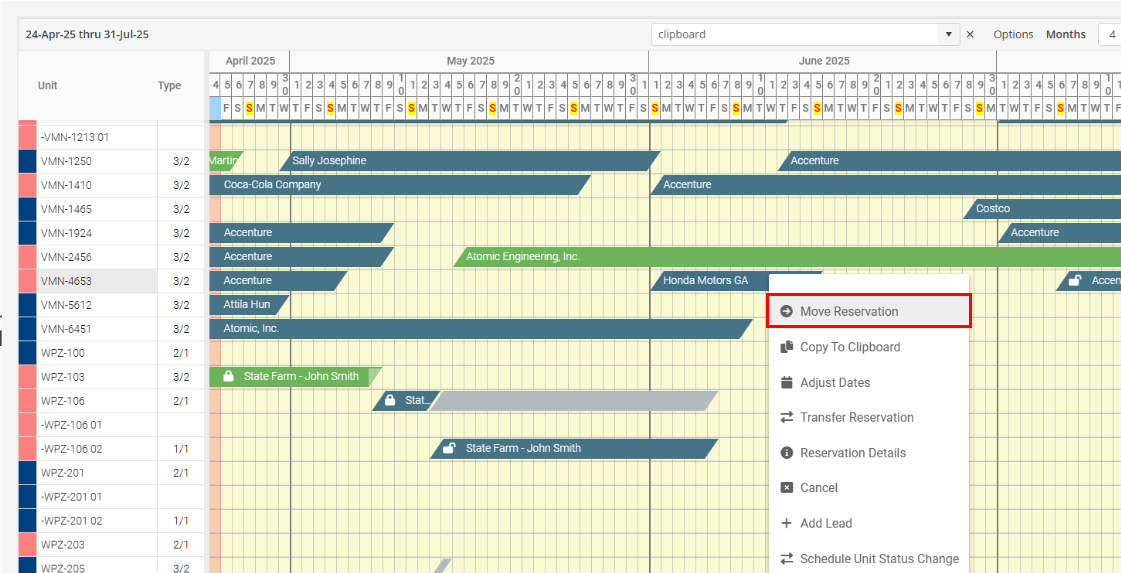
The Reservation will be in edit mode color.

Locate the destination Unit and left click on the Unit itself on the Schedule Board. You can also left click on the Reservation and drag to the desired unit on the Schedule Board. Click Yes to Confirm the move, or No to undo.
Auto Journal Entry
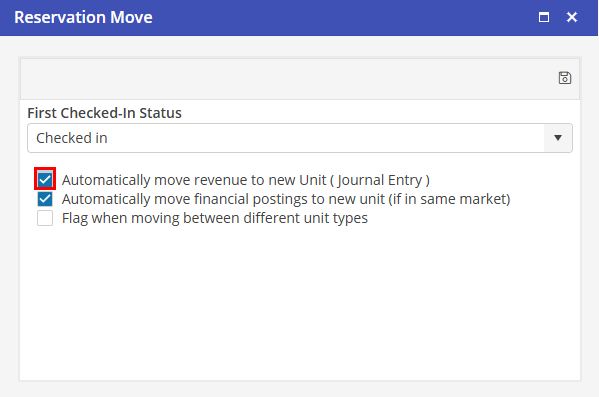
After the Move has been saved, a Journal Entry will be created if there were any invoices on the Reservation and if the option “Automatically move revenue to new unit” is selected in Program Settings.
Located in Program Settings > Reservations > Move.
Credits Performed after Move
If the invoice is credited after the move, the credit will go to the original unit, not the current unit.